

San Francisco based Professional designer and conceptual artist, Ken
Nguyen has produced some really exciting textured SketchUp models and
shows us here his workflow that he uses for these great 3D models. Ken
does most of his texturing in Photoshop, using different types of
layers, for example diffuse/colors/materials, scratches, dirt,
highlights, etc. He then utilizes with the different layer styles to get
the results he wants (multiply, overlay, etc.).
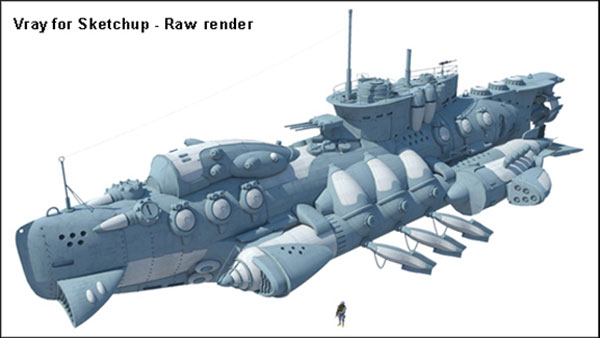
 1. V-Ray for SketchUp raw render output.
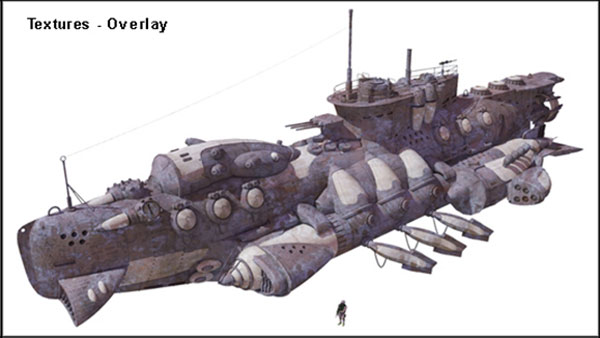
 2. Textures with Layer blending mode set to Overlay.
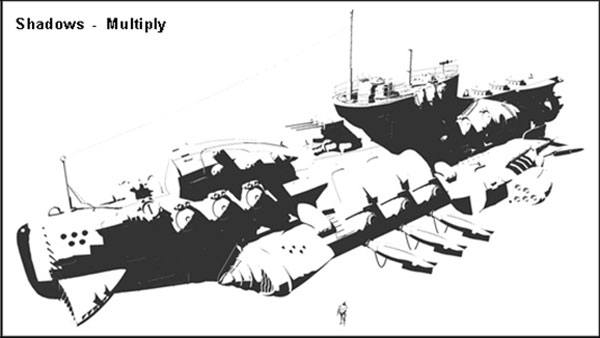
 3. Shadows with Layer blending mode set to Multiply.
TIP: For this shadow output from SketchUp go to View>Face style>Monochrome; View>Edge style>Uncheck all; Shadow settings dialog, Light 100, Dark 0, Shadows on; Window>Styles>Face settings, set the default color for both Front and Back faces to pure white (RGB 255).
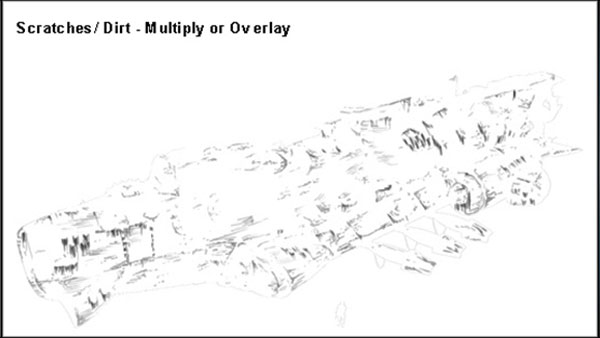
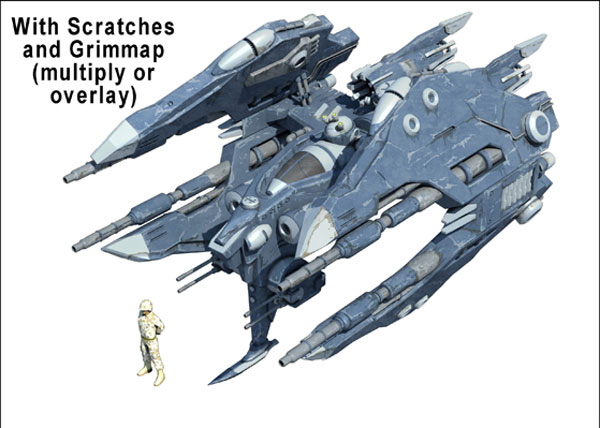
 5. Scratches/dirt with Layer blending mode set to Multiply or Overlay.
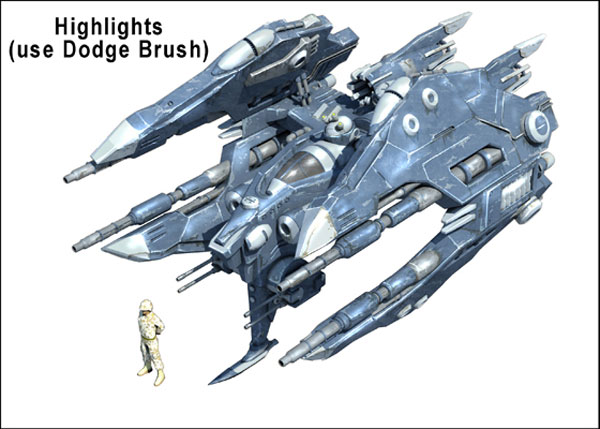
 6. Finish with highlights using Dodge and Burn and combine all layers, that’s it job done!

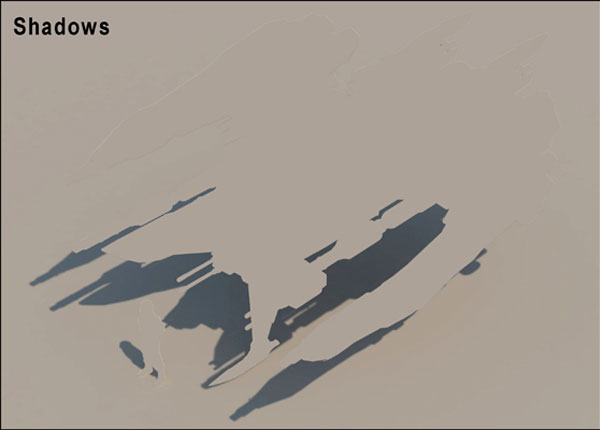
 1. Shadow Layer for aircraft.

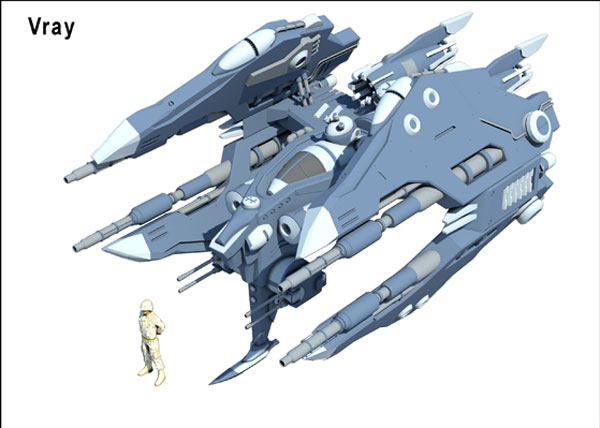
 2. Raw V-Ray render output.
 3. Scratches and Grimmap Layer.
 4. Highlights.
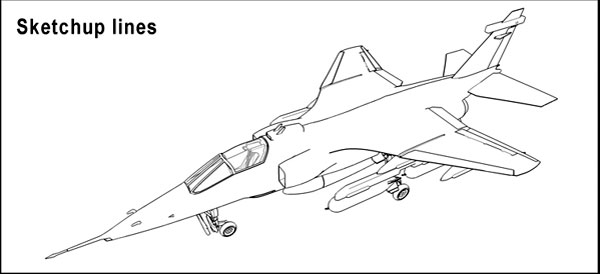
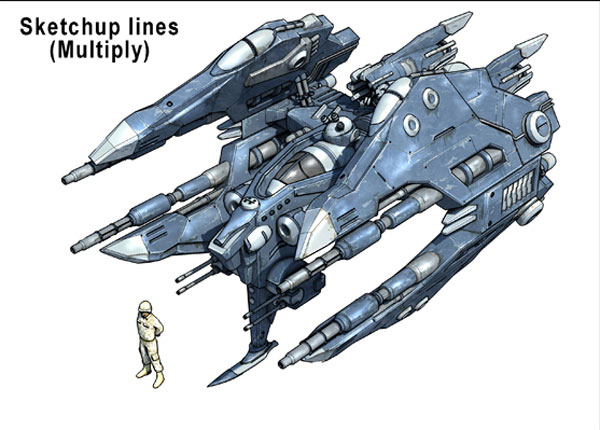
 5. SketchUp Lines output with Layer blending mode set to Multiply.
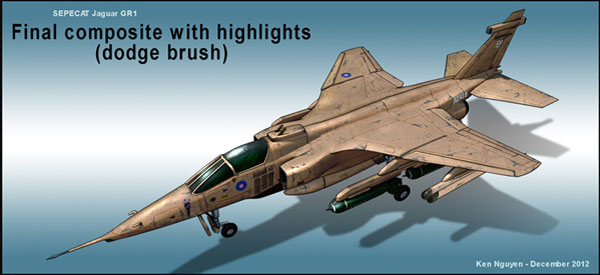
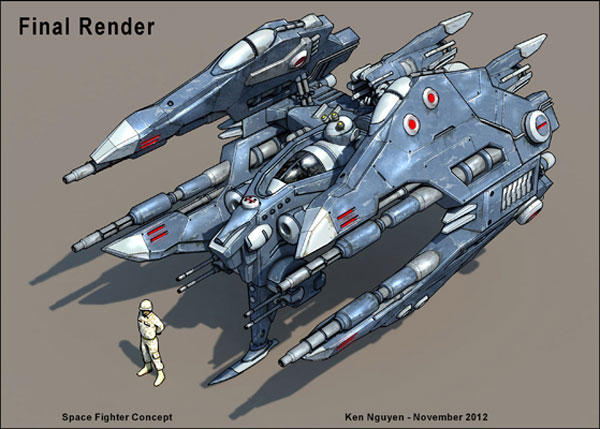
 6. Final composite image.
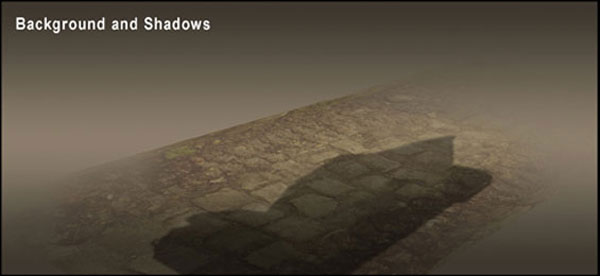
1. Background with Shadows.
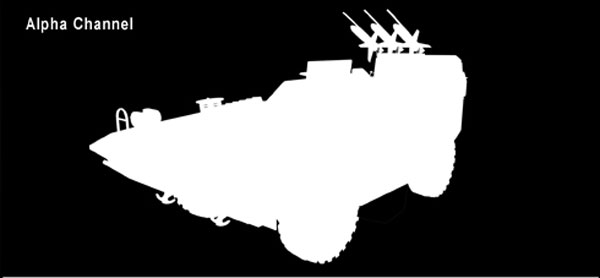
 2. Alpha Channel.
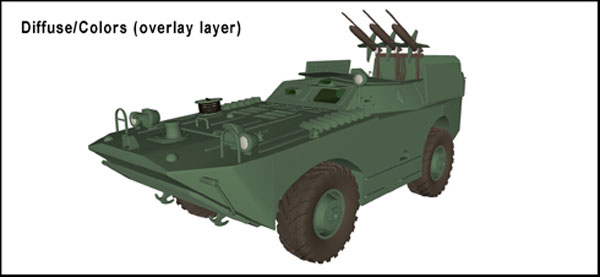
 4. Diffuse, colors with Layer blending mode set to Overlay.
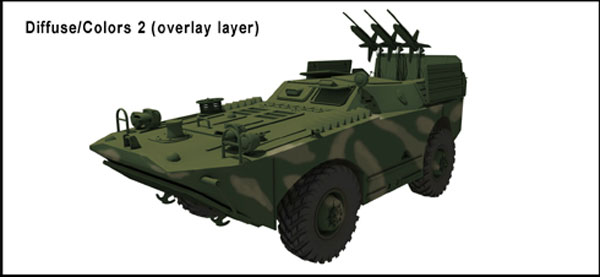
 5. Diffuse, colors 2 with Layer blending mode set to Overlay.
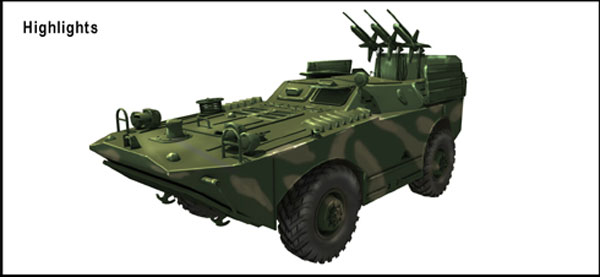
 6. Highlights using Dodge and Burn tool.
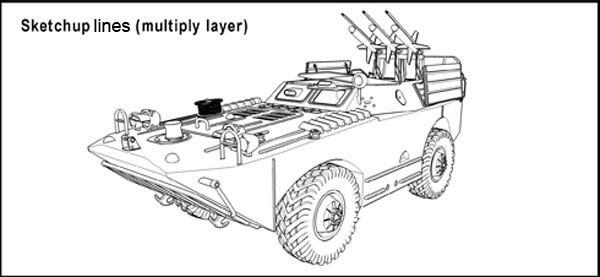
 10. SketchUp Lines output with Layer blending mode set to Multiply.
 12. Final Image.
 You can read more about Ken and his work in this Spotlight Article he did for us a little while ago.
Thanks for reading!

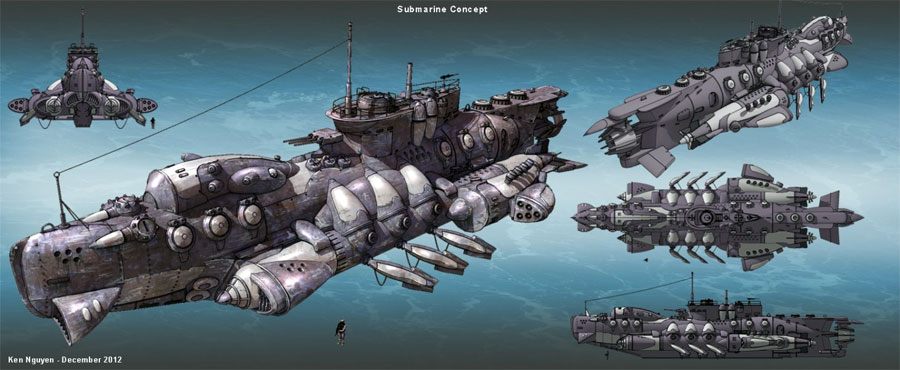
Steam-Punk Submarine
This is Ken’s texturing workflow and post-processing for this first 3D model.
Submarine Concept

Raw Render

Textures - Overlay
TIP: For this shadow output from SketchUp go to View>Face style>Monochrome; View>Edge style>Uncheck all; Shadow settings dialog, Light 100, Dark 0, Shadows on; Window>Styles>Face settings, set the default color for both Front and Back faces to pure white (RGB 255).

Shadows - Multiply
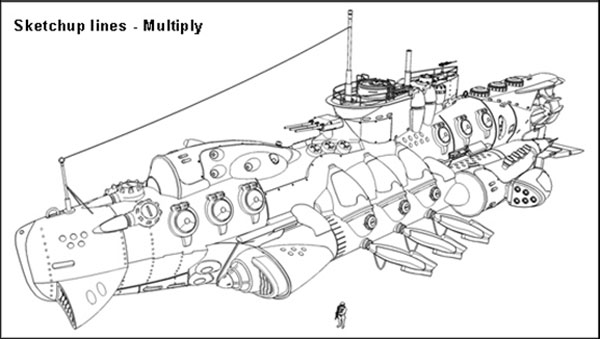
4. SketchUp lines, Layer blending mode set to Multiply.
TIP: For just lines go to View>Face Style>Hidden line with Shadows off.

SketchUp Lines - Multiply

Scratches/Dirt - Multiply or Overlay

Highlights
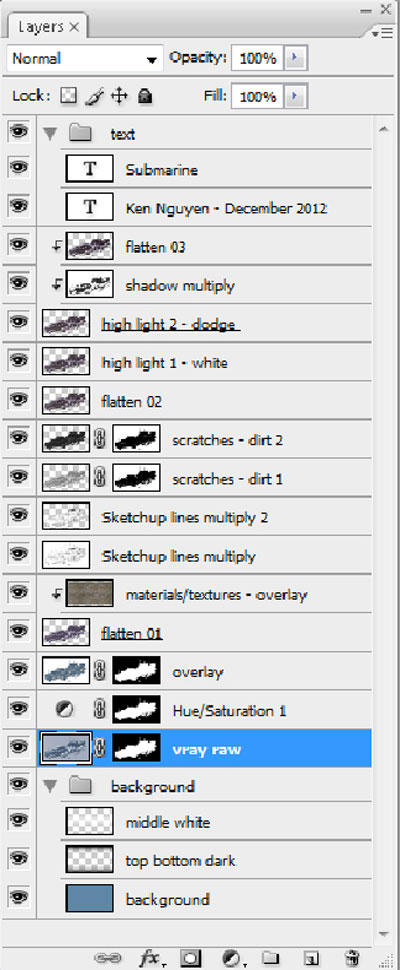
Example Layer Stack (Submarine)
Typical layer stack in texture workflow.
Photoshop Layer Stack
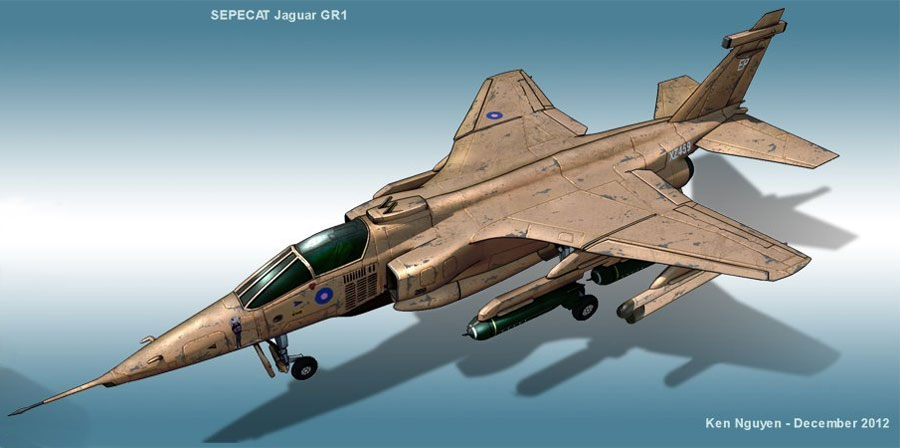
Sepecat Jaguar GR1 Single Seat All-Weather Attack Aircraft
Next model we looked at was this fantastic 3D model of a Sepecat Jaguar GR1.
Sepecat Jaguar GR1

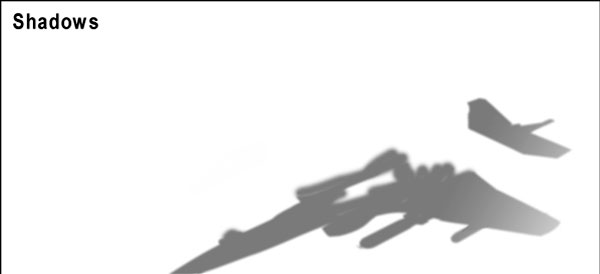
Shadows
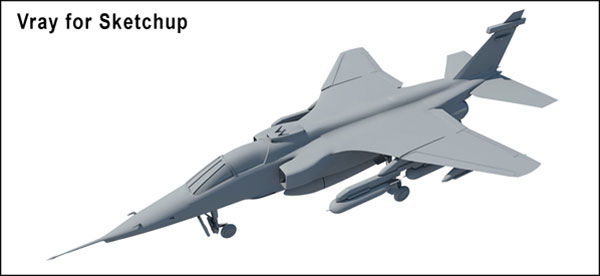
2. V-Ray for SketchUp raw render output.

V-Ray Raw Output
3. Diffuse, colors and materials.

Diffuse, colors, materials
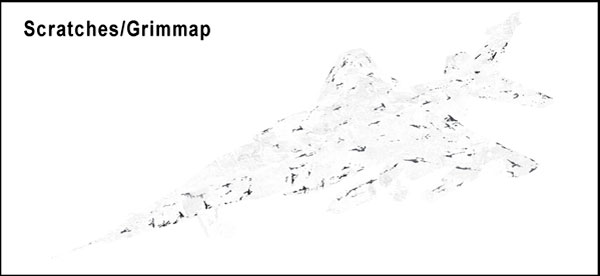
4. Scratches, set Layer blending mode to Overlay or Multiply.

Scratches
5. SketchUp Line output with Layer blending mode set to Multiply.

SketchUp Lines - Multiply
6. Final composite, highlights and Layers merged.

Final Composite
Space Fighter Concept
1. Shadow Layer.
Shadows

Raw Render

Scratches/Dirt - Multiply or Overlay

Highlights

SketchUp Lines - Multiply

Final Composite
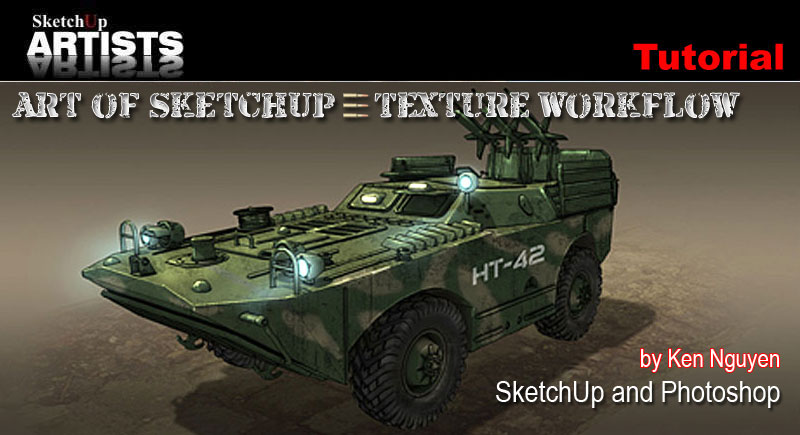
BRMD – Combat Reconnaissance Patrol Vehicle
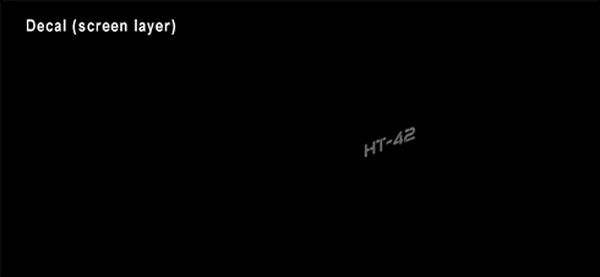
Here’s another quick workflow tutorial by Ken showing more layers than the previous workflow images. Usually most of his renders contain an alpha channel so he can separate the vehicle from the background. You can have the alpha channel, either with the option in V-Ray for Sketchup (or any other rendering engines should have it, too), or create your own in Sketchup my making your model all black and the background white, simple! In this particular texture workflow, Ken has also shown a Decal layer. He uses them for the little details. In the previous workflows he has merged them in the Diffuse/Colors layer.1. Background with Shadows.

Background with Shadows

Alpha Channel
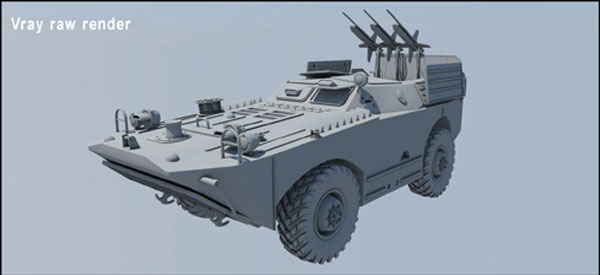
3. V-Ray for SketchUp raw render output.

V-Ray Raw Output

Diffuse, colors

Diffuse, colors 2

Highlights
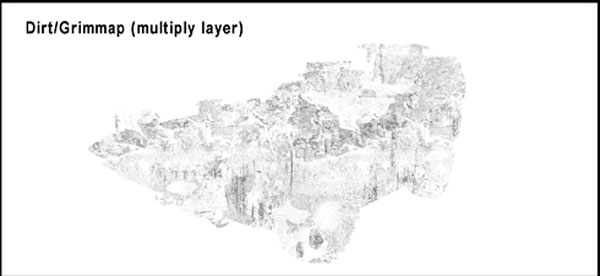
7. Dirt/Grimmap with Layer blending mode set to Multiply.

Dirt/Grimmap
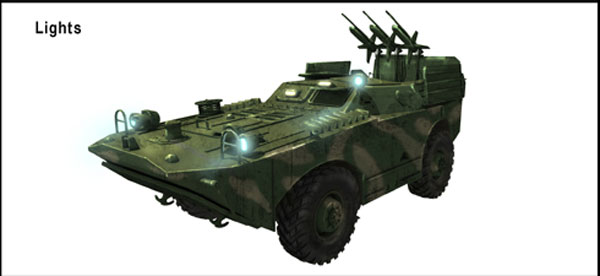
8. Lights Layer.

Lights
9. Shadows Layer with blending mode set to Multiply.

Shadows - Multiply

SketchUp Lines - Multiply
11. Decal Layer.

Decal Layer set to Screen Mode

Final Composite
Thanks for reading!
A lot of guys out there knows what Gmail is but not everyone knows most of the uses of Gmail.in this article I would be taking you on a ride on what can you do on Gmail. CLICK HERE TO KNOW MORE.
ReplyDelete